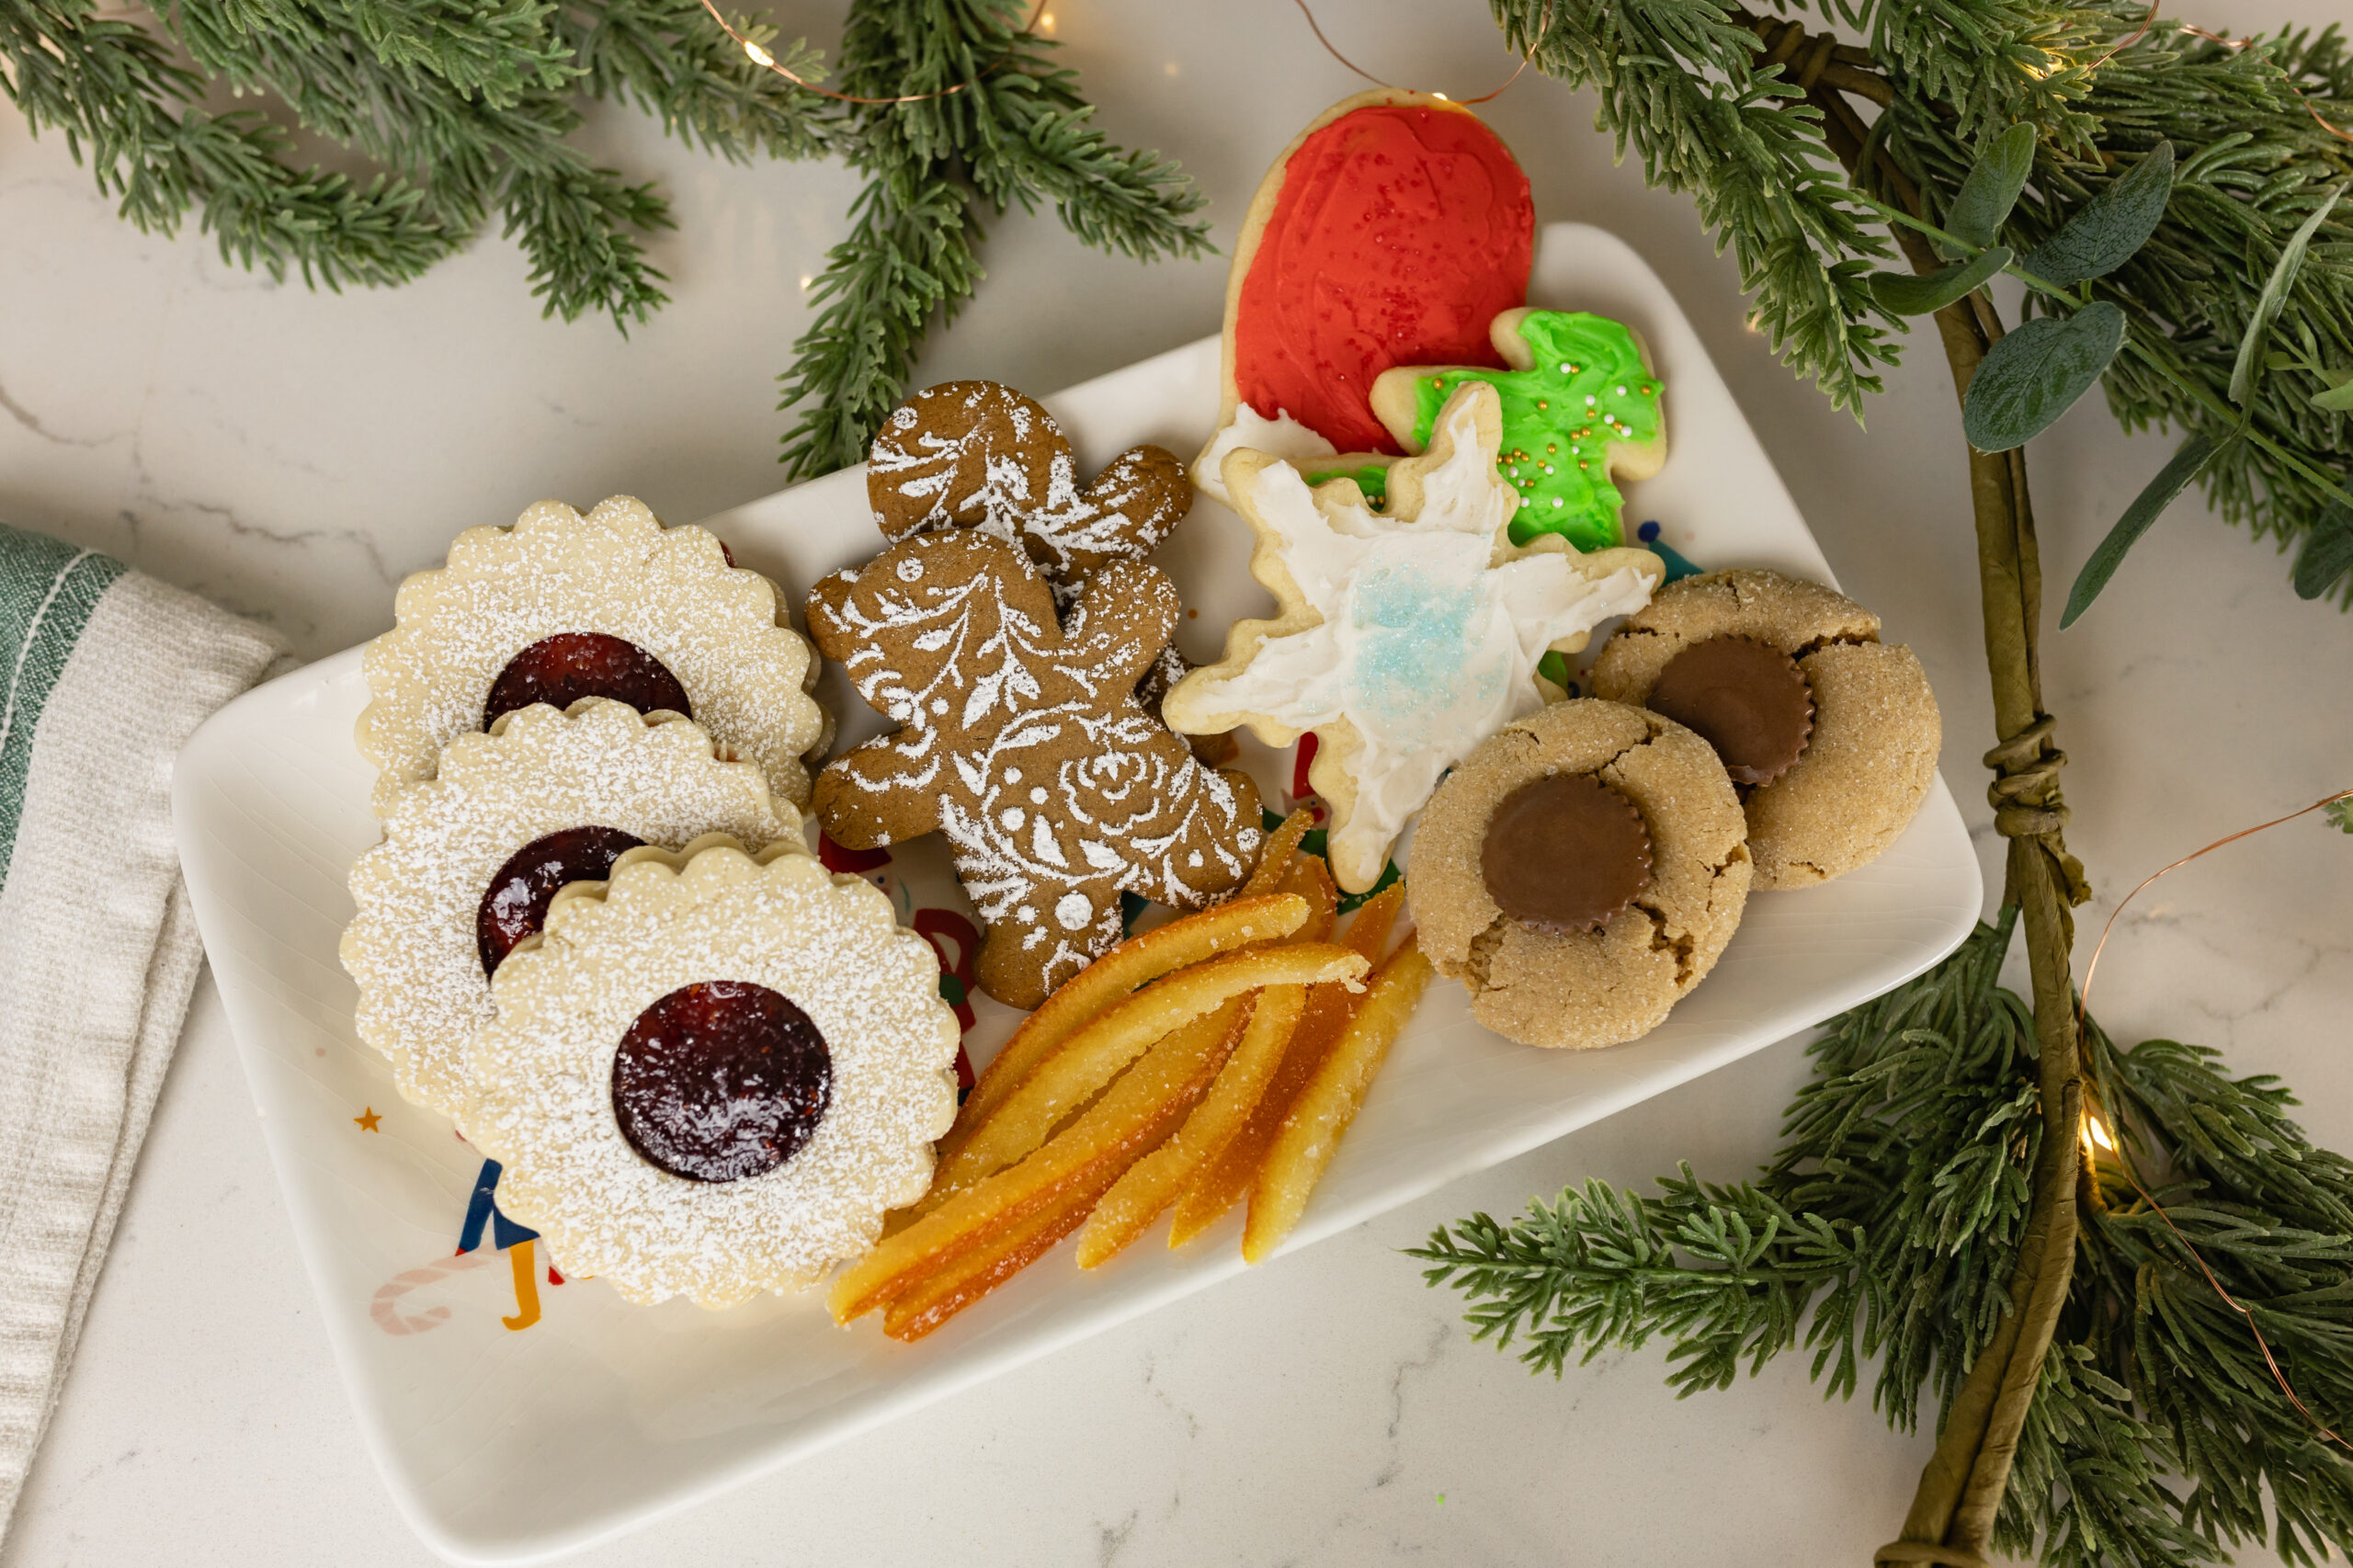
Baking is one of my favorite activities, and I love trying out new recipes. And at the holidays I go a bit bonkers, and I’m not exaggerating… Instead of gifting my friends and family more things they don’t need, I spend my time baking and making fun Christmas treats! I always add at least one new cookie, candy, or treat every year, but there are a few tried and true recipes that I make no matter what.
Since these are my all time favs, I thought this year I’d share them with you! I know it’s a bit off topic… well, really off topic, but hey we could all do with a bit of fun, joy, and yumminess around the holidays so here we are! So, grab a friend, grab your kiddos, and make a day of it. I hope you enjoy these treats as much as we do!
1. Candied Orange Peel
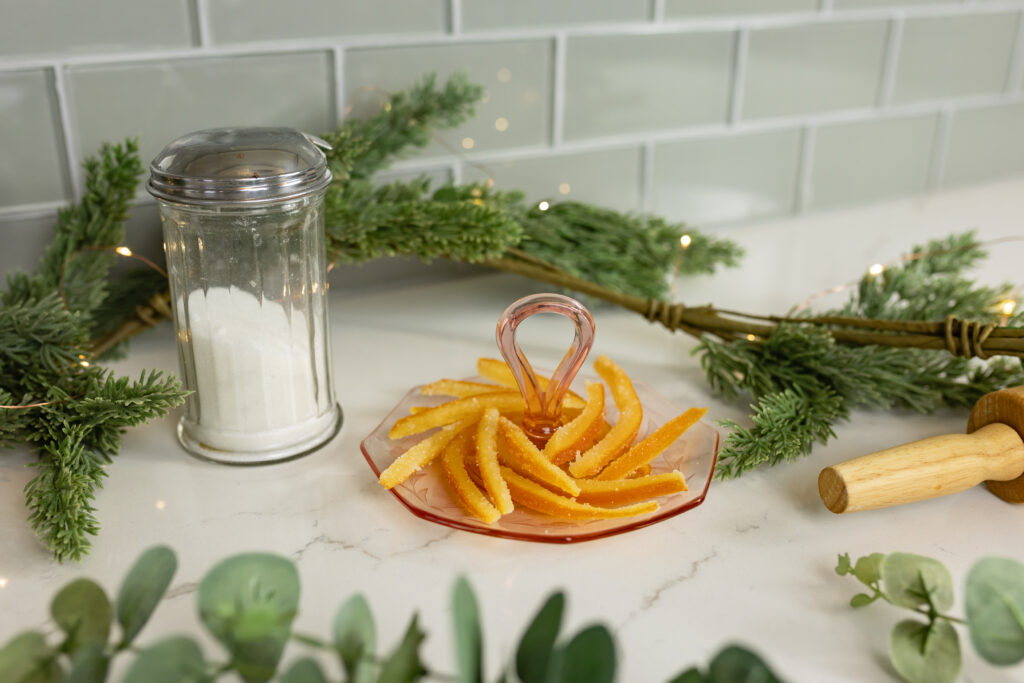
I know this sounds super weird, but stick with me here. This is THE BEST candy you will ever taste, especially if you love citrus like me. I grew up making this with my mom every Christmas, and usually ended up eating most of it every Christmas, too. Not joking!
If you do it right, it’ll be the perfect blend of sweet and sour, and crunchy sugar with chewy peel. The weirdest thing about making this, though, is if it’s raining it’ll take a LOT longer. Basically like all other candy making, it’s best to do this on a dry day, but lucky for us it’s usually not that humid in December in Michigan! Also lucky for us it’s citrus season so finding big juicy oranges shouldn’t be a problem (or too expensive either). Since this recipe only calls for the orange peels I usually make orange juice with the leftover orange slices. Of course you could just eat them, but I strive to make everything more fun (read: complicated) when I’m in the kitchen!
This is *NOT* a quick recipe, there is a lot of cooking and drying time, so set aside a whole afternoon to make these treats.
What you’ll need:
- 3 large oranges (about 2 1/4 lbs)
- 3/4 Cup water
- 2 Tbsp light corn syrup
- 2 3/4 Cups sugar
Directions
- Cut the peel on each orange into quarters, then remove the peel in sections. Slice the peel into 1/4″ wide slices lengthwise. You should have about 4 cups.
- Place orange peels in a medium-sized non-aluminum sauce pan with enough water to cover. Bring to a boil and cook, covered for 15 mins. Drain the peels in a colander.
- Boil 3/4 Cup water, syrup, and 2 Cups sugar, stirring until dissolved. Add peels, simmer, stirring occasionally, 35-55 mins, until translucent and tender.
- Remove peels with a slotted spoon to large rack placed over a baking sheet. Let drain 5 mins. Separate peels, dry until tacky, about 1 hour.
- Place remaining 3/4 Cup sugar in large bowl. Add the peels and toss.
- Transfer sugar-coated peels to racks to air dry, about 2 hours.
I’ve made a recipe card if you’d rather download and print for your recipe box!
2. Peanut Butter Blossoms
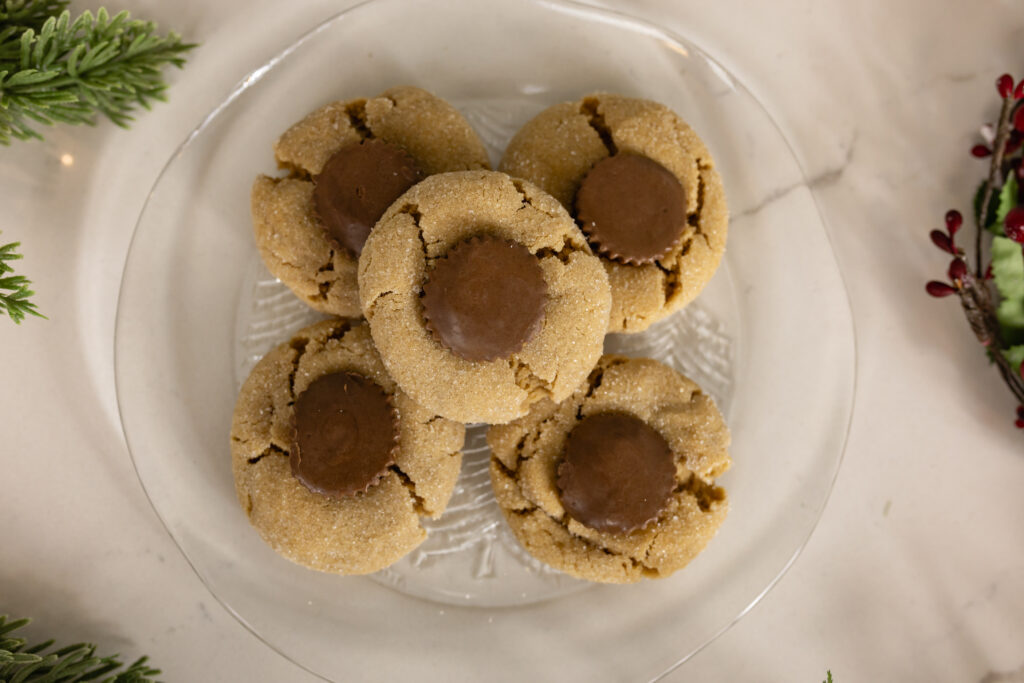
This is a classic, but with a twist. Growing up I never really liked these cookies when other people made them (we never did, maybe because everyone else used to, or maybe my mom wasn’t a fan like me). But one year I decided to make them, and instead of Hershey’s Kisses (which I don’t like) I bought some Reese’s Peanut Butter Cups Minis and that was maybe the best decision I’ve ever made in my life. Ok this time I am exaggerating, but it was a really good decision because it changes the cookie so much!

The texture is totally different since you don’t have to bite through a tall, hard, and gross (I really don’t like Hershey’s) chocolate kiss. Instead you get to keep the roof of your mouth in tact and don’t have to pay for expensive dental work from chipped teeth, and the flavor is exceptional. Who doesn’t want more peanut butter in their cookies?! I mean, if you’re allergic maybe don’t even think about this one because it’s very peanut forward.
This recipe makes a TON and is quick and easy. It’s a great one to do with your littles, but only if you don’t mind a mystery of “where are all the peanut butter cups?!”
What you’ll need:
- 1 Cup sugar
- 1 Cup packed brown sugar
- 1 Cup creamy peanut butter
- 1 Cup butter, softened
- 2 eggs
- 3 Cups flour
- 1 1/2 tsp baking soda
- 1 tsp baking powder
- Additional sugar
- ~ 7 dozen Reese’s Peanut Butter Cup Minis
Directions
- Heat oven to 375 F. In a large bowl, beat 1 cup sugar, brown sugar, peanut butter, & eggs with electric mixer on medium speed, or mix with a spoon. Stir in flour, baking soda, & baking powder.
- Shape dough into 1″ balls, roll in additional sugar. Place on cookie sheet about 2″ apart.
- Bake 8-10 mins, or until edges are light brown. Remove from oven and immediately press 1 chocolate candy in center of each cookie. Remove from cookie sheet to wire rack to cool.
- The peanut butter cups take a while to cool down, so give yourself a while to cool completely before transferring to storage.
I’ve made a recipe card if you’d rather download and print for your recipe box!
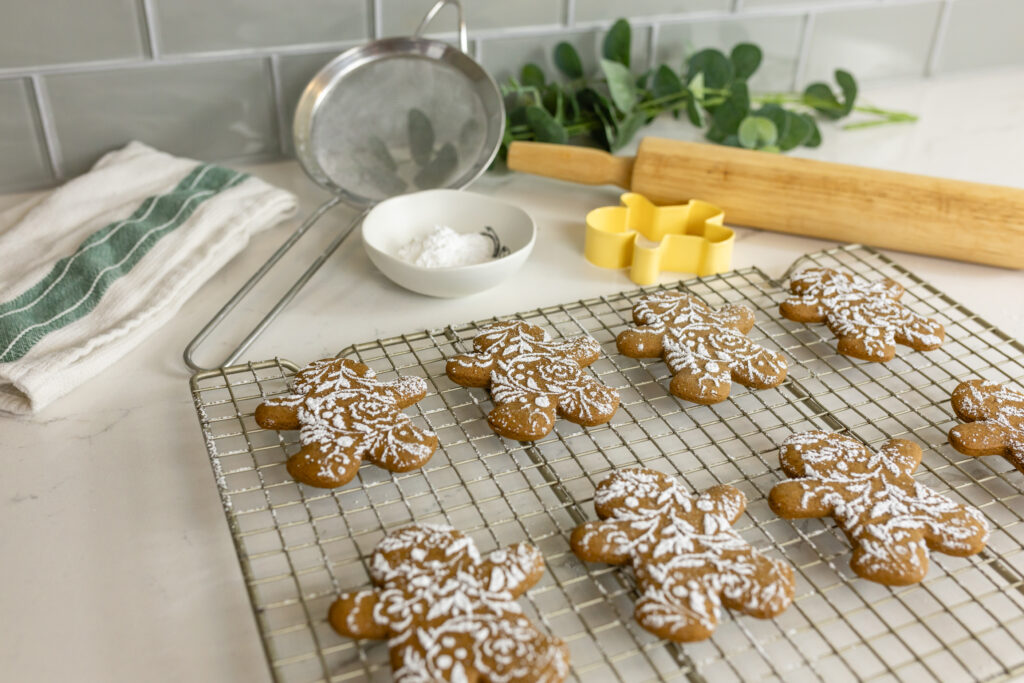
3. Gingerbread Cookies
A true classic Christmas cookie, but actually tasty. I found this recipe years ago and never looked back. If you’re not a fan of gingerbread, just give this one a try. To note, this is NOT the gingerbread you can use to make houses, but instead the softest and tastiest gingerbread you’ve ever had!
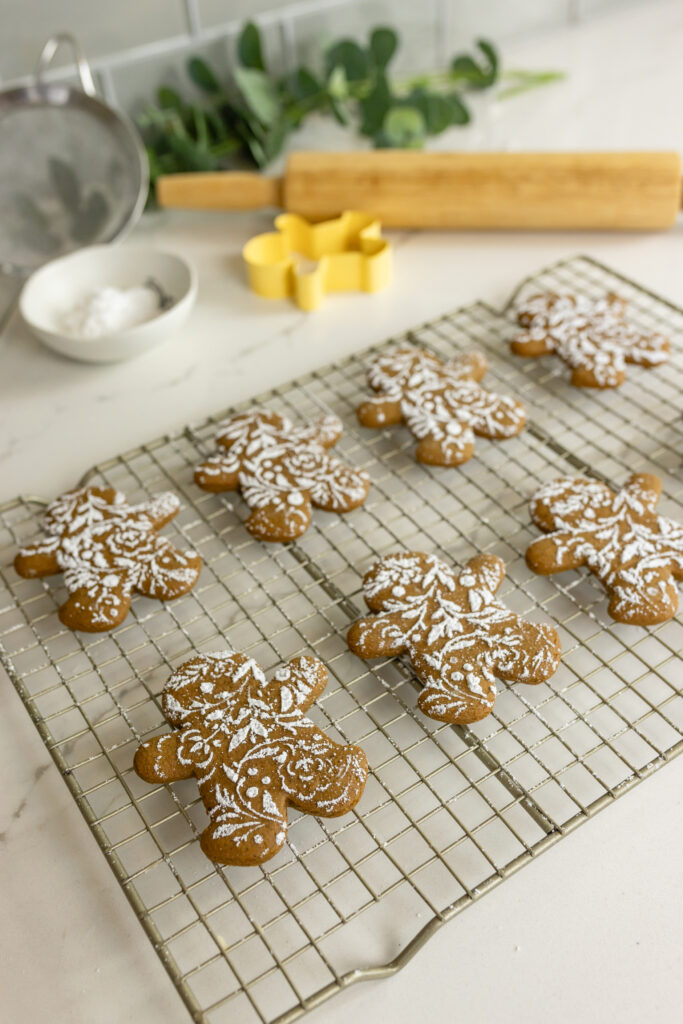
You can go with the classic royal icing to decorate after you make these, but I love to take a lacy stencil, lay it on top of the cooled cookie, and dust with powdered sugar. Not only is it much easier, but it’s beautiful and unique! These cookies are sweet enough on their own so they don’t need the extra sugar that comes with icing. I don’t dust the cookies until I’m about to serve or plate them though since the powdered sugar doesn’t last as well in storage.
You get a lot of dough with this recipe so it’s great if you need to bring a treat to your office holiday party or have a large family (like me)!
What you’ll need:
- 3 1/2 Cups flour
- 1 tsp baking soda
- 1/2 tsp salt
- 1 Tbsp ground ginger
- 1 Tbsp ground cinnamon
- 1/2 tsp ground allspice
- 1/2 tsp ground cloves
- 10 Tbsp unsalted butter, softened
- 3/4 Cup packed brown sugar
- 2/3 Cup unsulphured or dark molasses (don’t use black strap)
- 1 large egg
- 1 tsp vanilla
Directions
- In a large bowl, whisk together the flour, baking soda, salt, ginger, cinnamon, allspice, and cloves. Set aside.
- In a large bowl using a mixer, beat butter for 1 minute on medium until completely smooth and creamy. Add the brown sugar and molasses, beat on medium high until combined and creamy. Scrape sides as needed. Beat in egg & vanilla on high for 2 full minutes.
- Add flour to wet mixture, beat on low until combined. Divide dough in half and flatten to a disc, wrap in plastic wrap. Chill 3 hours up to 3 days.
- Preheat oven to 350 F. Roll dough to about 1/4″ thick. Cut out with your favorite cookie shapes, but keep in mind larger cutters may take more time to bake. Bake 9-11 minutes, cool for 5 minutes then transfer to a cooling rack.
- Sprinkle with powdered sugar or decorate with royal icing.
I’ve made a recipe card if you’d rather download and print for your recipe box!
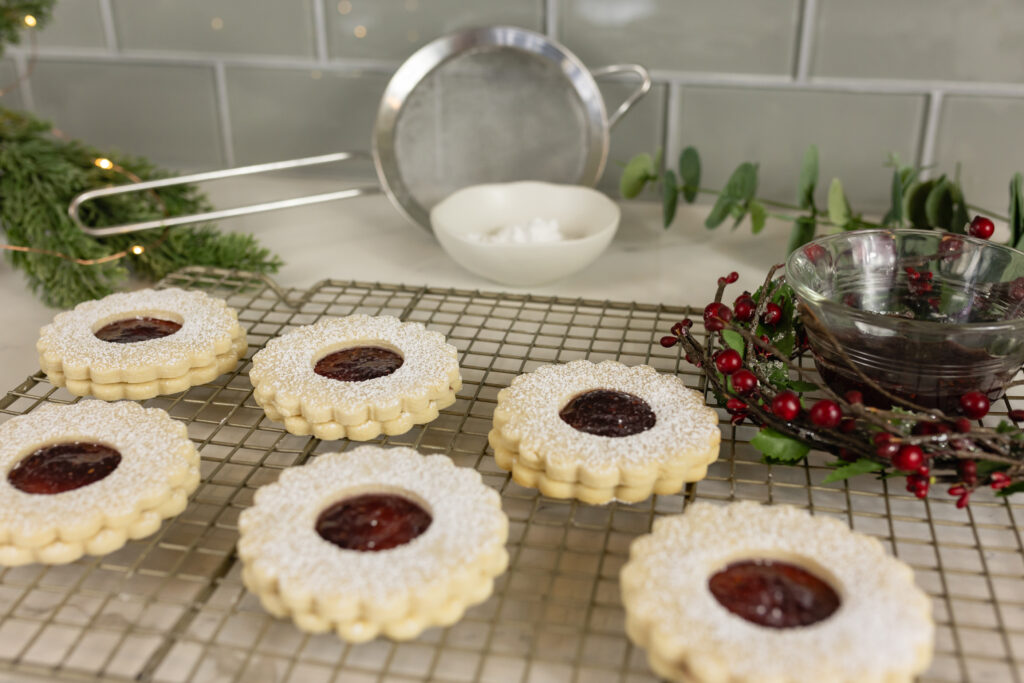
4. Linzer Cookies
This is still a relatively new cookie for me, but I love it! I mean, what wouldn’t you love about a simple cookie with jam and powdered sugar? They look so beautiful, taste wonderful, and are pretty darn easy to make. The recipe I make only makes around 14 cookies, so it’s better if you just need a few cookies to share, or you may want to double (or triple like I do) the recipe!
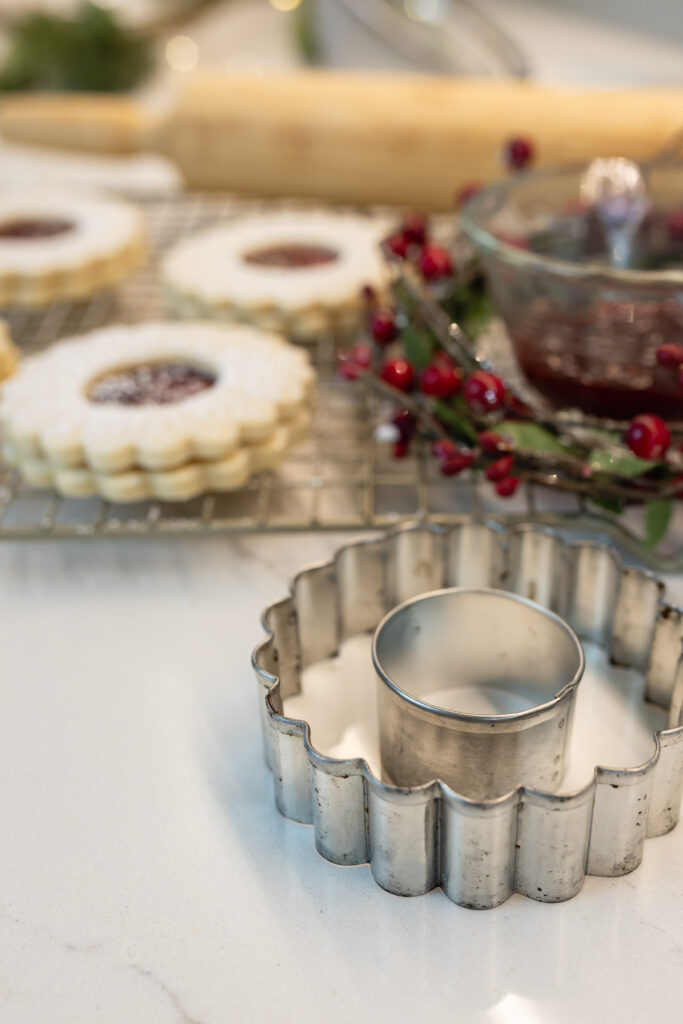
If you’ve never heard of Linzer cookies before, they’re a German jam sandwich cookie that has a sweet little cut out on the top cookie so you can see the jam. There are special cutters for them if you don’t already have cookie cutters in your giant box of cookie cutters that would work like I randomly do. It’s one of those things I’ve always collected… still have a bunch from my childhood! Anyways, if you’re looking for a local shop to support when you’re on the hunt for the perfect Linzer cookie cutters, check out Kitchen Loft in Kerrytown in Ann Arbor!
What you’ll need:
- 1 Cup softened butter
- 1/2 Cup powdered sugar
- 1 tsp vanilla
- 1/4 tsp salt
- 2 Cups flour
For Assembly
- 1-2 Tbsp powdered sugar
- 3-4 Tbsp strawberry or raspberry jam
Directions
- In a large bowl, cream butter & sugar until soft & fluffy, about 2 minutes, on medium speed.
- Add vanilla & salt, continue to beat until fully incorporated. Gradually add flour and mix until forms dough mass.
- Use your hands to form dough into a ball, shape into a disc. Cover tightly in cling film, chill in fridge for 30 minutes.
- Preheat oven to 350 F and line baking sheets.
- Once dough is chilled, roll into 1/4″ thick. Use a large cookie cutter to cut cookies, use a smaller cutter to cut a hole in half of the cookies.
- Place cookies 1/2″ apart & chill for 10 minutes.
- Bake for 8-10 minutes until edges brown, let cool 5 minutes then transfer to cooling rack.
- Spread jam on cooled large cookies, then place cookie with hole on top. Dust assembled cookies with powdered sugar.
- Makes ~ 14 cookies.
I’ve made a recipe card if you’d rather download and print for your recipe box!
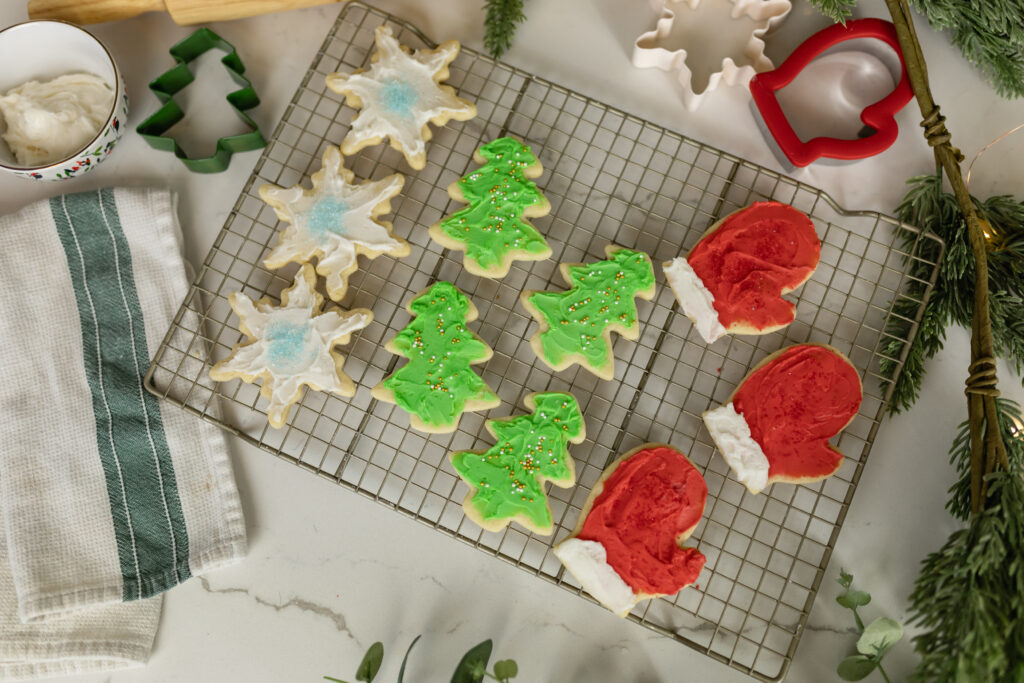
5. Soft Cut-Out Sugar Cookies
I searched for years and years (and years) for the perfect cut-out cookie. It was almost always a flop. The recipes were almost always either too dry or didn’t taste good. Well, enter this cookie! This is seriously the best one, not too sweet, amazing flavor, easy-to-work-with dough, and gets the MOST compliments at parties. So I just had to share this one with you!

I think this would work well with any icing, or even with just sprinkles pressed into the dough before baking, but I’ve got a big surprise for you! Keep scrolling after you read this recipe to find my fav frosting that goes so well with this cookie!
What you’ll need:
- 1 Cup salted butter, softened
- 1 1/2 Cups granulated sugar
- 1 whole egg, room temp
- 1 1/2 tsp vanilla extract
- 1 tsp almond extract
- 2 3/4 Cups flour
- 1 tsp baking powder
Directions
- In a large bowl, beat butter & sugar until light and fluffy. Beat in egg and extracts.
- Slowly mix in flour & baking powder, 1 cup at a time.
- Divide dough into 2 balls. Roll out each ball with a rolling pin on a floured surface. Cut out cookies at least 1/8″ thick and place on a lined cookie sheet.
- Place cookie sheet in freezer for 15-30 minutes.
- Preheat oven to 350 F. Bake cookies for 8-11 minutes or until the edges are lightly golden brown. Let cool on cookie sheet for 5 minutes before transferring to a cooling rack.
- Decorate with your favorite icing (or see below for my favorite)!
I’ve made a recipe card if you’d rather download and print for your recipe box!
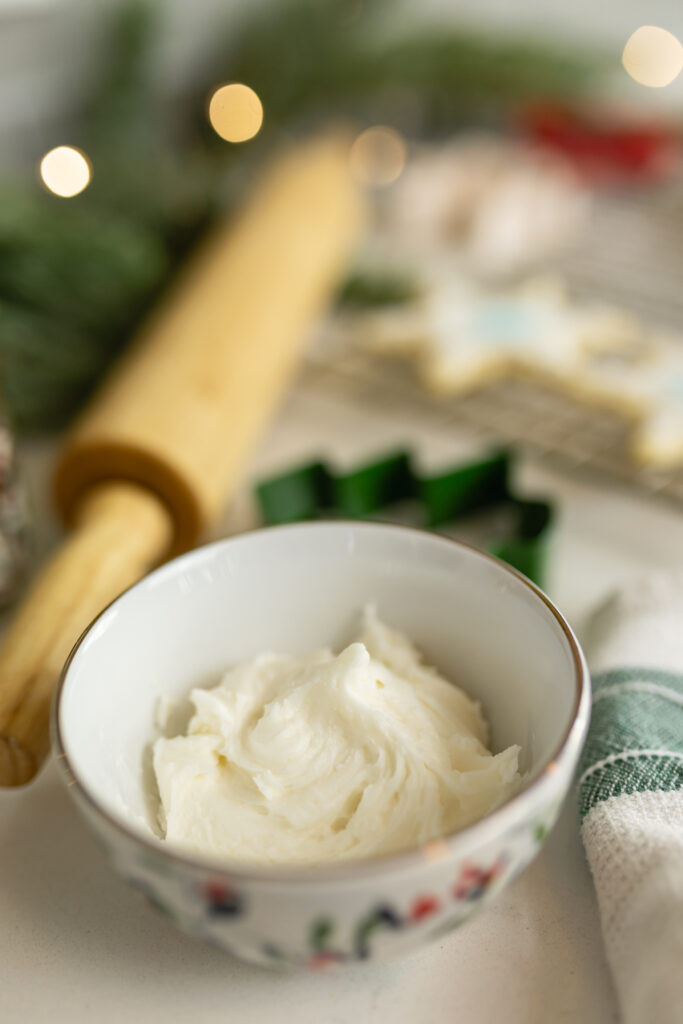
*Bonus* Recipe – Cookie Frosting
If you make the cut out cookies above, you 100% should at least once try the cookies with this frosting! I know most people like to flex their decorating skills at Christmas and want to use royal icing, but this is simple, tasty, and I love it! So if you want something that is great for decorating, maybe use something else. But if you want something that is super yummy, this is for you!
What you’ll need:
- 1/3 Cup butter, softened
- 4 1/2 Cups powdered sugar
- 1/4 Cup milk
- 1/2 tsp vanilla extract
- 1/2 tsp almond extract
- Food coloring
Directions
- Mix all ingredients together with electric mixer.
- Use desired food coloring and mix in, or divide frosting into separate bowls before coloring for more variety!
I’ve made a recipe card if you’d rather download and print for your recipe box!
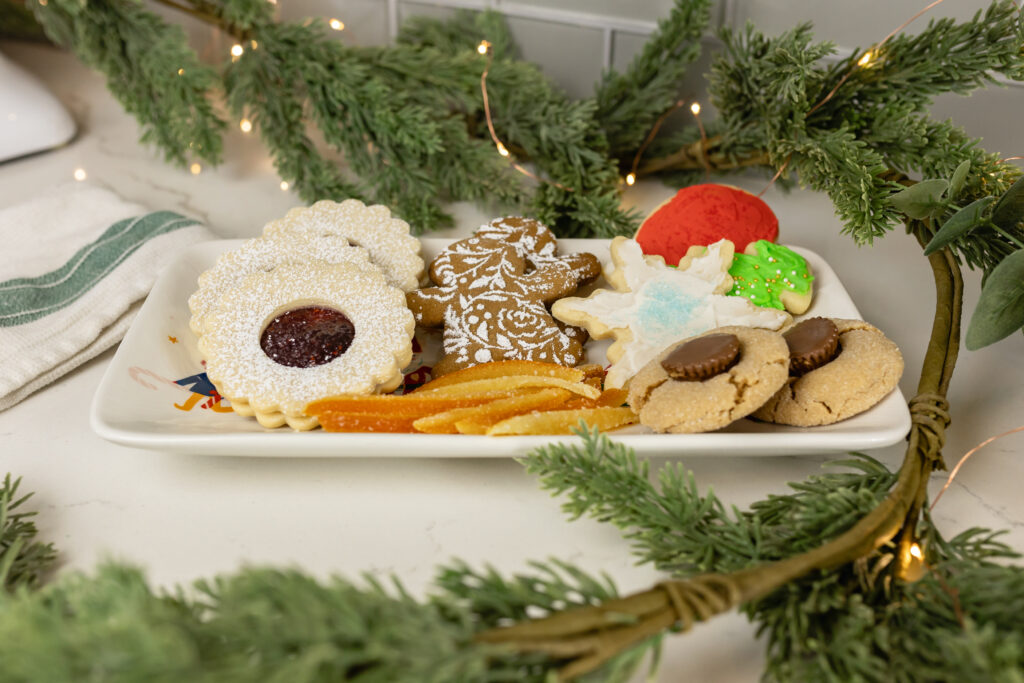
So there you go! My favorite holiday treats that I make every year. Do I make a lot more than this? Yes! If you want more recipes just let me know and I can share some of my other favorites!
If you want ALL of the recipe cards here’s the download for that file! I’d love for you to share YOUR favorite recipes in the comments below (so, you know, I can try out a new recipe because I don’t have enough to do this holiday season). Love you all!
P.S. (Do we do post scripts for blog posts? Meh, imma do it anyways) If you’re ready to book a photo shoot with me, I’d love to do a family baking session! Fill out your info on my contact page so we can get you on the books soon.
